It is important to distinguish the account creation process from having site access. They’ve got some relation to each other, but are by and large separate things.
eg. You can have an account without ever having access to a site.
Creating your own Lansweeper account via https://app.lansweeper.com
Before you can create a cloud site, access an existing site, or configure SSO, ... you need to create a Lansweeper account.
Navigate to https://app.lansweeper.com, click on register, and register by filling out the required fields.
You are immediately logged on and taken to the create site page
A verification email is sent to the registered email address.
Note: this email is sent from the following type of address: bounce-14517_HTML-1014544145-57773-100019538-449190@bounce.s10.mc.pd25.com. This email is sent to ensure that the account is reachable via email. Note that the account can log on without accepting the verification for 24 hours. Afterward, the account must be verified to log on.
You are now able to create a site, link an installation and perform actions in your user profile like configuring SSO for your domain.
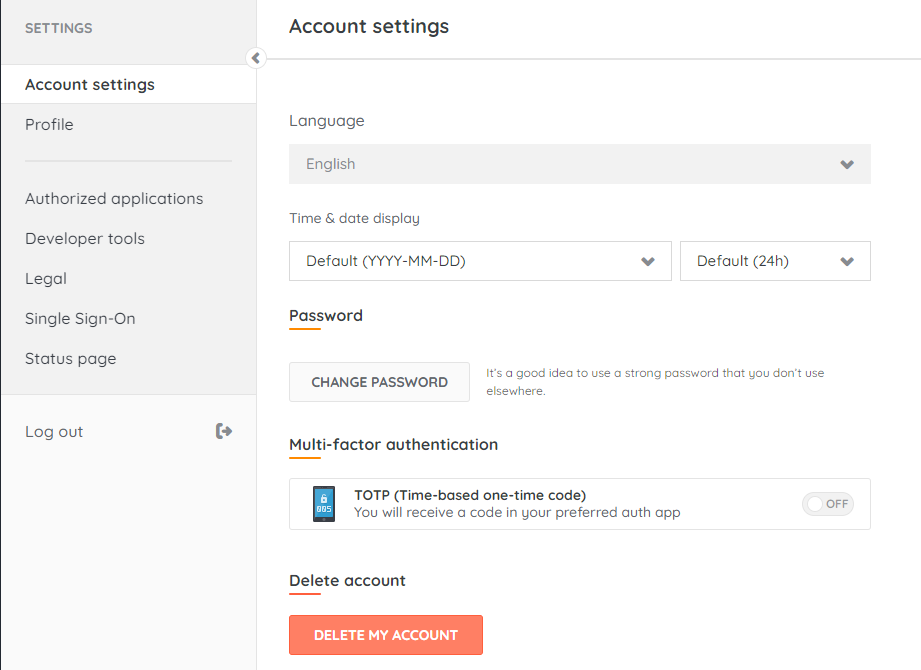
Note that you cannot set MFA without verifying your account. The “Account settings” section is not visible before verifying.

Create an account by logging in through SSO
If SSO is already configured for your domain, your Lansweeper account is automatically created the first time you log on.
Navigate to https://app.lansweeper.com, click "Log In With Single Sign-On", log in with your @domain email address.
Your Lansweeper account is now created automatically.
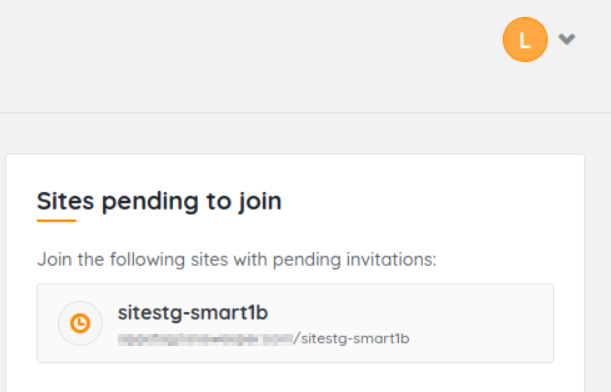
If you haven't been invited to join a site yet, you will be sent to the create-site page. If you were invited to join a site, the Sites pending to join screen is shown and you are immediately able to perform all actions.

Creating your account after accepting a site invite via email
Users can be invited to your site, even if they haven’t created a Lansweeper Cloud account yet. If they have not yet created an account, they can create it right after clicking the site invite link.
First, you need to send an invite to the user you want to join. As a site admin, navigate to Configuration > Account Management > Invite new accounts.
Enter the email address of the account you want to invite and pre-assign a role.
At this point, the invite is pending and an email is sent out to the email address that was input. The “From” email address is an address like this: bounce-14517_HTML-1015744866-57773-100019538-449233@bounce.s10.mc.pd25.com
The user needs to accept the invite.
If the user already has a Lansweeper account, the user is sent to the login page. When the user logs on, the pending invite is accepted and the user has access to the site.
If the user does not have a Lansweeper account, the user is sent to the account registration page.
When SSO is enabled for the user's domain the user can log in with Single Sign-on.
When SSO is not configured, the user will be directed to the registration page and the user can register.
In both cases, the account will be automatically verified and the user is directed to the site they're invited to.

Please note that pending site invites expire 1 week after they’re sent.
